
If you’re looking for a fun and creative way to decorate your walls, string art is a great option.
This DIY craft involves wrapping string or thread around nails or pins to create beautiful designs.
Here are some tips and tricks for beginners who want to try string art:
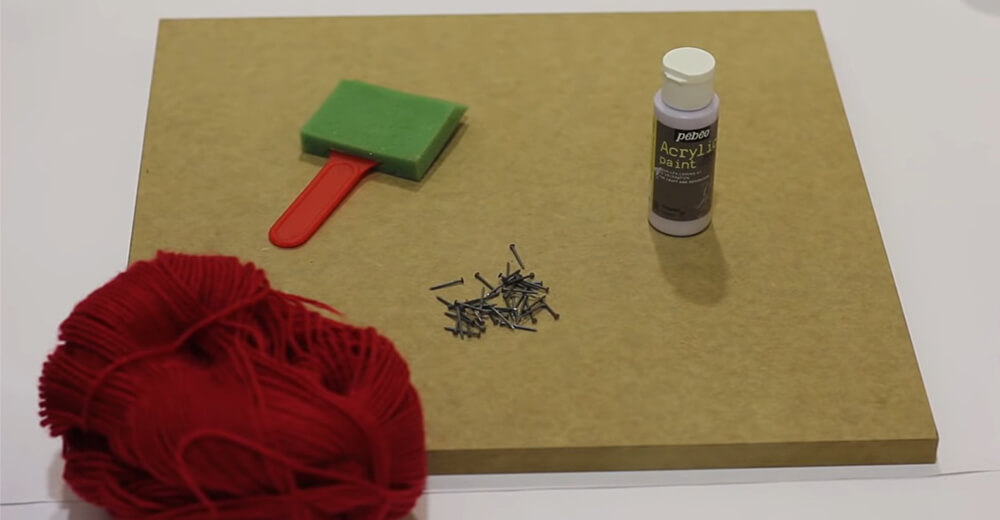
1. Choose the Right Materials
To get started with string art, you will need a few basic materials. Сhoosing the right materials is key.
You’ll need a piece of wood or cardboard to use as a base. Choose the right size nails or pins to hold the thread in place.
For the string or thread, embroidery floss or crochet thread works well for smaller designs. You can use any type of string or thread you like, but keep in mind that thicker strings can be harder to work with.
Lastly, make sure you have a hammer or mallet to hammer in the nails or pins.
With the right materials, you’ll be ready to start your string art project in no time!
2. Plan Your Design
Before you start creating your string art, it’s important to plan out your design. You can either draw your design directly onto the wood or cardboard or use a stencil.
If you’re new to string art, it’s best to start with a simple and easy-to-follow design. You can choose any shape or pattern you like, but keep in mind that more intricate designs may be more difficult to execute.
Some popular beginner designs include geometric shapes like triangles and hexagons, as well as simple silhouettes of animals or objects.
Once you have your design in place, make sure to mark the spots where you will be hammering in your nails or pins. This will ensure that your design stays consistent and doesn’t end up looking lopsided.
With a little bit of planning, you’ll be ready to start creating your string art masterpiece!

3. Hammer in Your Nails
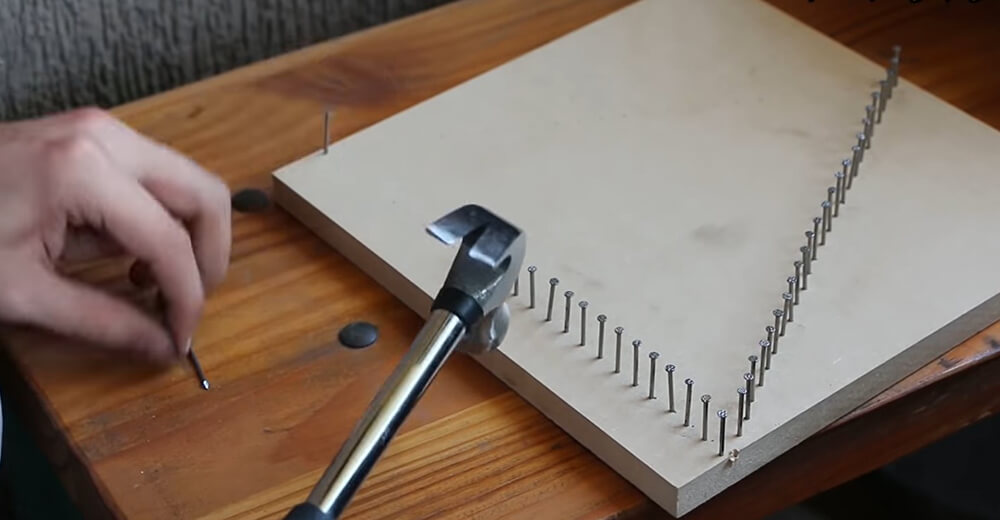
Once you have your design in place, it’s time to hammer in your nails or pins. To ensure that your design stays consistent and doesn’t end up looking lopsided, it’s important to mark the spots where you will be hammering in your nails or pins.
You can either use a ruler to measure out the spacing between each nail or pin or create a template to help guide you.
When hammering in your nails or pins, make sure they are evenly spaced and firmly hammered in. You can use a hammer or a mallet to do this.
When choosing nails or pins for your string art project, it’s important to select ones that are long enough to hold the string in place but not so long that they poke through the back of the board.
Overall, taking the time to hammer in your nails or pins properly can make a big difference in the final outcome of your string art project.
4. Start Wrapping Your String
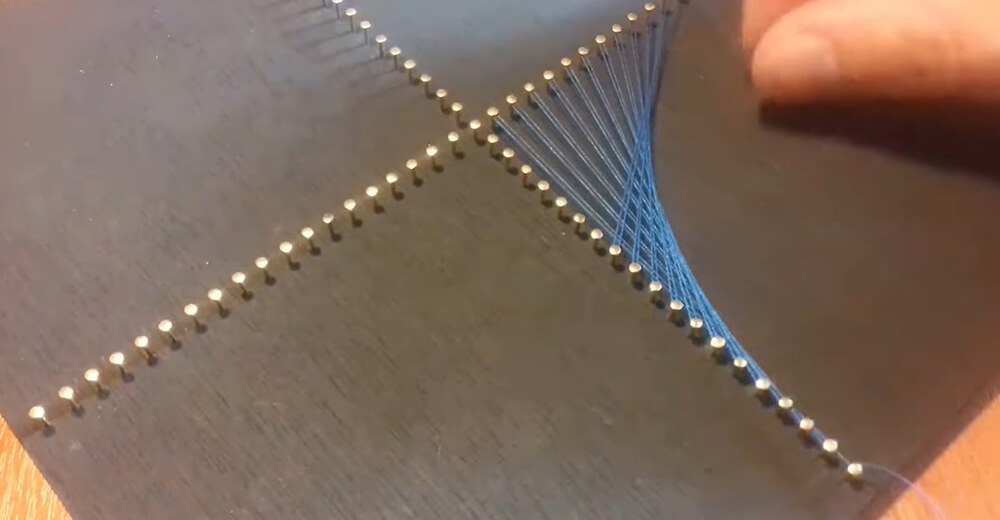
With your nails or pins in place, Start wrapping your string tightly around them, starting at one end of your design and working your way around.
Tie one end of the string to one of the nails and begin wrapping it around the other nails, following your design. Make sure the string is pulled tightly as you go, so that the design looks neat and tidy.
You can use any color of string or thread you like, or you can experiment with different wrapping patterns to create different effects.
One popular technique is to wrap the string in a criss-cross pattern to create a woven look. Another is to wrap the string in concentric circles to create a spiral effect.
Whatever pattern you choose, take your time and enjoy the process of creating your unique piece of string art!
5. Experiment with Different Patterns
Once you’ve mastered the basics of string art, it’s time to start experimenting with different patterns and designs. There are many ways you can create unique and interesting effects with string art. Here are some ideas to get you started:
Colorful Designs
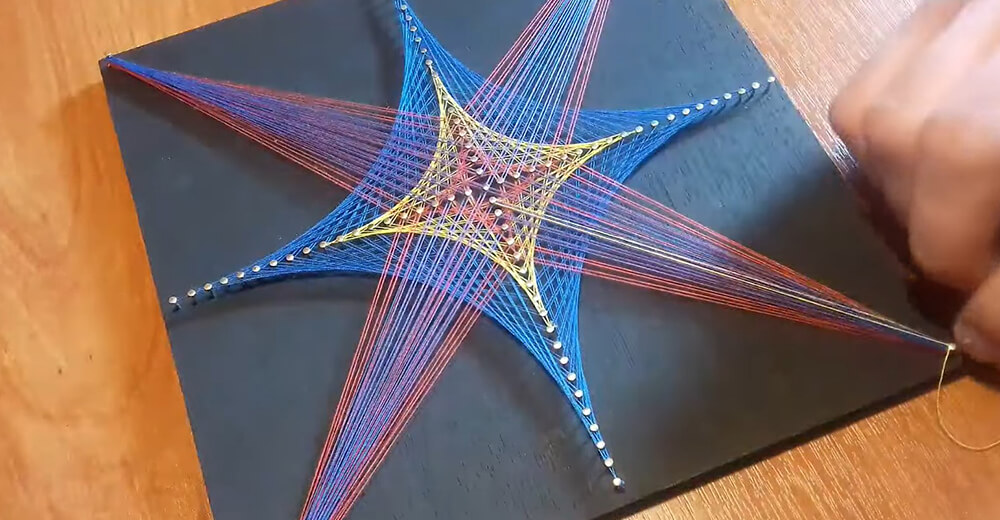
One of the simplest ways to add some interest to your string art is to experiment with different colors of string or thread. You can create a rainbow effect by using a different color for each nail or pin, or you can use a few colors to create a gradient effect.
Try using complementary colors (colors that are opposite each other on the color wheel) for a bold and eye-catching design.
Layered Designs
Another way to create a unique look with string art is to layer different patterns or colors of string on top of each other. For example, you could create a heart shape by wrapping one color of string around the nails or pins, and then wrapping another color of string in a criss-cross pattern on top of the first color.
Mixed Media
String art doesn’t have to be limited to just string or thread. You can incorporate other materials into your design to create a mixed media effect. For example, you could wrap string around nails or pins that are glued onto a piece of driftwood or a canvas that has been painted with acrylics.
Negative Space
Another way to create a unique design is to play with negative space. Instead of wrapping string around every nail or pin, leave some spaces empty to create a more open and airy design.
You can also experiment with wrapping the string in different patterns around the nails or pins to create interesting shapes and designs.
Overall, the possibilities for string art designs are endless. Don’t be afraid to experiment.
6. Consider Using Templates
When it comes to creating your own string art designs, using templates can be a helpful tool.
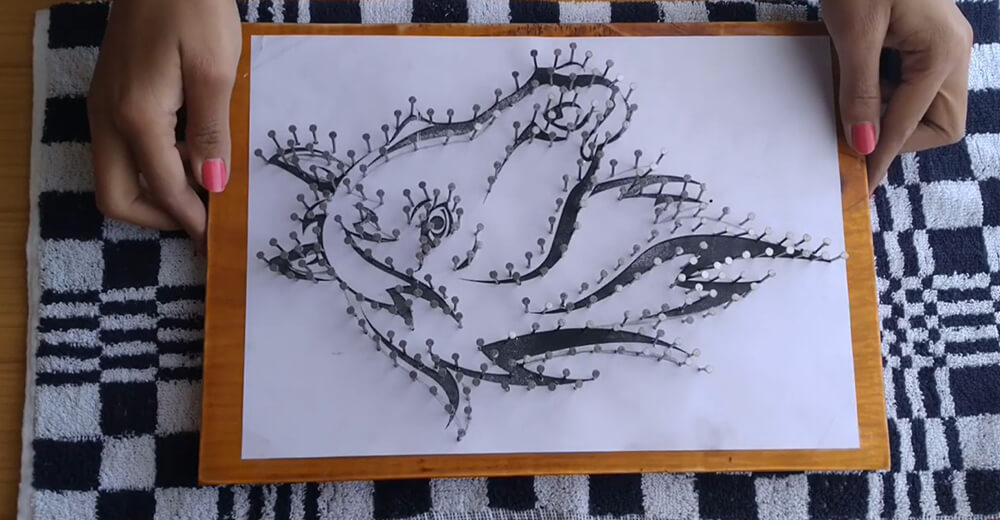
Creating a template is easy. Draw your design onto a piece of paper and poke holes where you want the nails or pins to go.
Then, place the template onto your base and hammer in the nails or pins through the holes. Having a template and hammered nails or pins you can start wrapping the thread.
This can be especially helpful if you’re not confident in your drawing skills or want a more precise design. Templates can also help ensure that your design stays consistent and doesn’t end up looking lopsided.
There are plenty of free templates available online that you can print out and use as a guide, or you can get creative and make your own!
Whatever method you choose, using a template can be a great way to take your string art to the next level.
7. Display Your Artwork
Once you’ve completed your string art project, it’s time to display it! There are many ways you can showcase your artwork and add a personal touch to your decor.
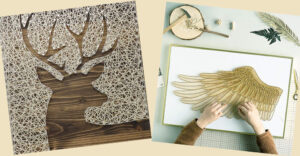
One option is to hang your string art on the wall using a picture hanger or some adhesive strips. Make sure to choose a secure hanger that will hold the weight of your design. You can also create a gallery wall by hanging several pieces of string art together in a group.
Another option is to prop your string art up on a shelf or table. You can use a plate stand or an easel to display your design, or simply lean it against a wall for a more casual look.
If you’re feeling extra creative, you can incorporate your string art into other DIY projects. For example, you could attach a string art design to the front of a handmade card or use it as a unique centerpiece for a party or gathering.
No matter how you choose to display your string art, make sure to show it off with pride! String art is a fun and unique way to add some personality to your decor, and your finished project is sure to be a conversation starter.

Tips and Tricks for Beginners in String Art – Conclusion
With a little bit of patience and attention to detail, you’ll be on your way to creating beautiful and unique designs in no time!
In conclusion, string art is a fun and creative way to decorate the walls and shelves of your home and enrich the decor of any home.
By following these tips and tricks, beginners can get started with this DIY craft in no time. Happy crafting!

Leave a Reply